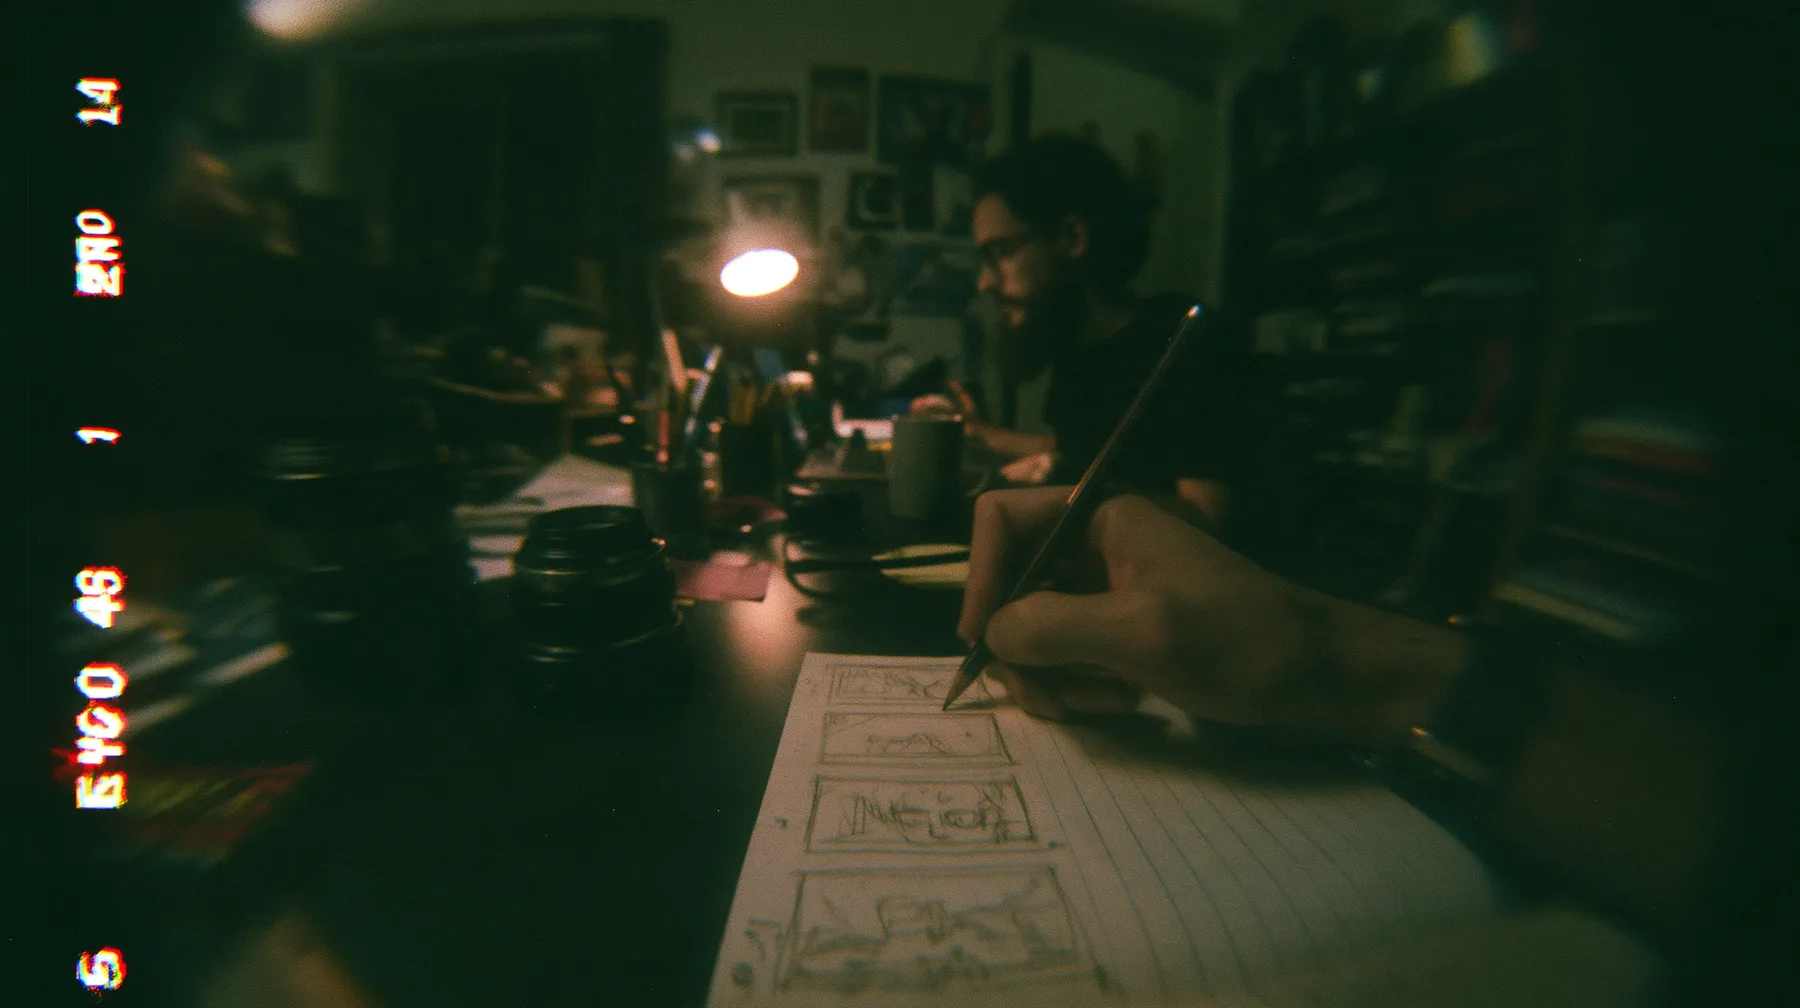
A storyboard is a series of drawn frames that shows what each shot in a scene will look like, in the order you plan to film them. Think of it as a comic strip version of your film. It lets you see framing, movement and pacing before anyone picks up a camera, when changing your mind still costs nothing.
This guide explains what goes into a storyboard, how to set up the format, and how to build one step by step, even if you cannot draw. It includes a free printable PDF template and a filled-in storyboard sample you can follow. It works alongside our shot list guide and call sheet guide, which together cover the three documents most small productions rely on.
What a storyboard is for
A storyboard does three jobs:
- It lets you test the film on paper. You find out that a scene needs a wider shot, or that two shots will not cut together, while the fix is a pencil line instead of a reshoot.
- It gets everyone seeing the same picture. The director, camera operator, gaffer and actors all read the same frames, so there are fewer "that's not what I imagined" moments on set.
- It makes the hard shots plannable. Action, stunts, visual effects and complicated camera moves are easier to prepare when you can point at a frame.
A storyboard is not the same thing as a shot list. The storyboard shows what the shots look like. The shot list is a checklist you shoot from. If you only have time to make one, make the shot list. If you have time for both, draw the storyboard first and write the shot list from it.
What goes in each storyboard panel
Every panel has a drawing and a few lines of notes. Keep the notes short and consistent so the page can be scanned quickly.
In the frame
- The composition: where the characters, props and horizon sit in the shot
- Arrows inside the frame for movement of people or objects
- Arrows outside the frame, along the edge, for camera movement such as a push in or a pan
Under the frame
- Shot number. This should match your shot list so the two documents line up.
- Shot size. Wide shot (WS), medium shot (MS), close-up (CU) or extreme close-up (ECU).
- Angle and movement. Eye level, low angle, overhead, static, handheld or a dolly move. Our guide to camera movements explains the common ones.
- Action. One sentence on what happens in the shot.
- Dialogue and sound. The line being spoken, or a key sound such as a door slam or music cue.
Storyboard format: ratio, panels and layout
Get the format right before you draw, because it affects every frame.
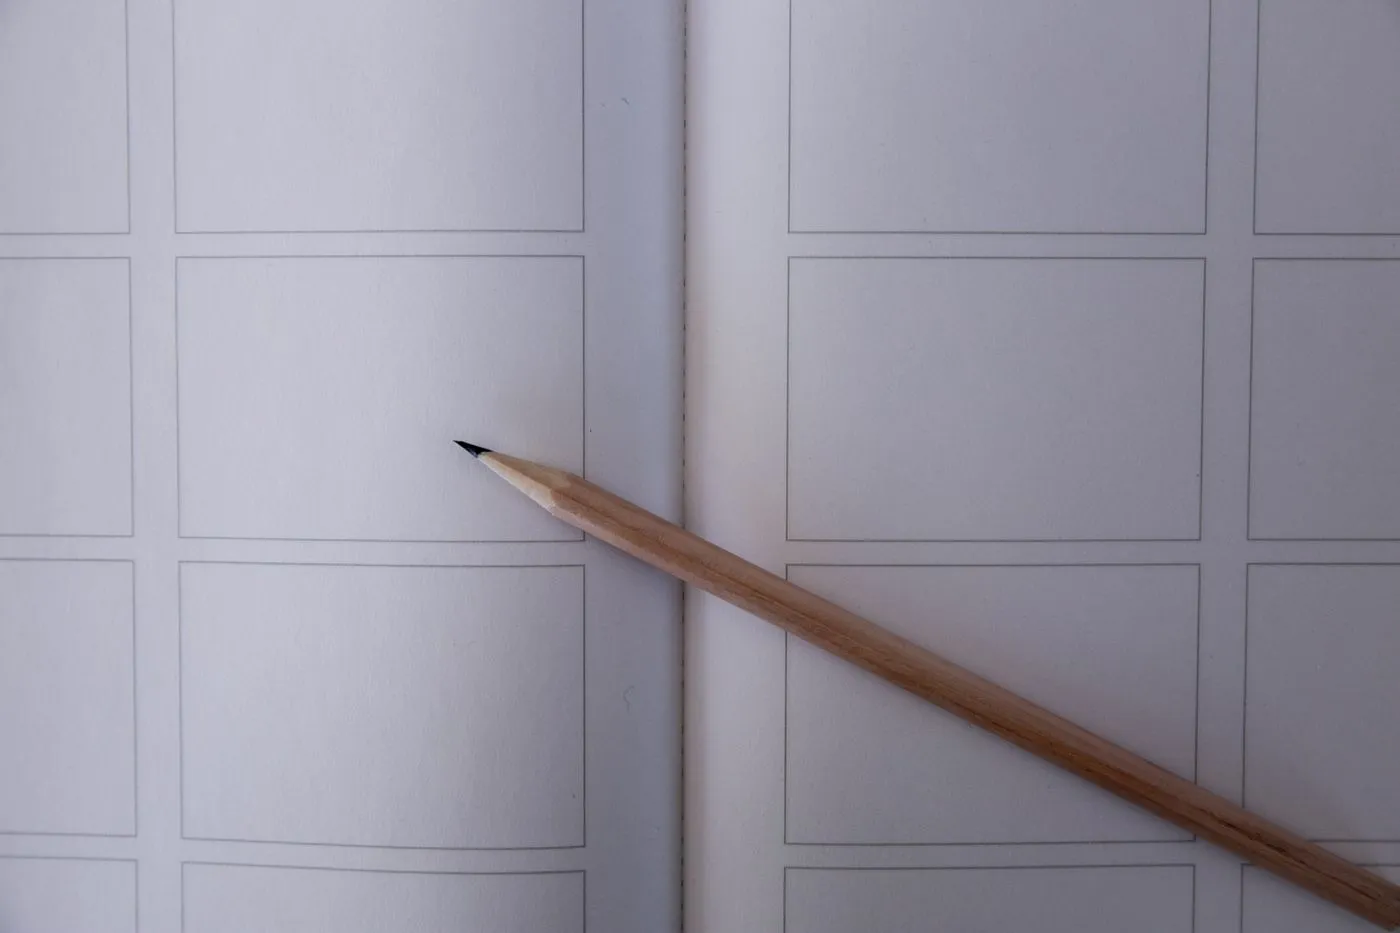
- Match your aspect ratio. Draw each frame box in the shape you will shoot. For most video and online work, that is 16:9. Cinema widescreen is about 2.39:1, and vertical video for social platforms is 9:16.
- Use six frames per page for most scenes. Two columns by three rows keeps the frames big enough to read, and leaves room for notes underneath. Use four frames per page for key scenes that need bigger drawings.
- Read left to right, top to bottom. Number every shot so the order never gets confused.
- Leave space for notes. A panel without notes is just a sketch. The notes make it a plan.
A free storyboard template (PDF)
You can print this and draw on it by hand, or open it on a tablet. It has a six-panel page, a larger four-panel page and a filled-in example page.
Download the free storyboard template (PDF)
The layout of each page, if you would rather build your own:
PROJECT:                     SCENE / PAGE:

SHOT 1                       SHOT 2
[ 16:9 frame ]               [ 16:9 frame ]
Size / angle / move:         Size / angle / move:
Action:                      Action:
Dialogue / sound:            Dialogue / sound:

SHOT 3                       SHOT 4
[ 16:9 frame ]               [ 16:9 frame ]
...
A storyboard sample
Here is a short sample for scene 12 of Night Shift, the fictional diner scene we used in the call sheet guide. The filled-in page in the template shows these same six shots as drawings. Notice how the notes carry the plan, and the drawings only need to be clear enough to show the framing.
| Shot | Size | Angle and move | Action | Dialogue / sound |
|---|---|---|---|---|
| 1 | Wide | Eye level, slow dolly in | Dana and Marcus at the counter, neon sign buzzing overhead | Diner hum, low jukebox |
| 2 | Medium | Eye level, static | Two-shot. Dana turns the coffee cup and avoids his eyes | MARCUS: "You said you'd be gone by now." |
| 3 | Close-up | Slight low angle, static | Dana's face. A beat of silence before she answers | Neon buzz up, music out |
| 4 | Extreme close-up | Overhead, static | Steam off the coffee. Her thumb taps the rim | Cup tap, clock ticking |
| 5 | Over the shoulder | Over Marcus, handheld | Marcus leans in. The camera drifts with his breath | MARCUS: "Stay." |
| 6 | Wide | Through the door, static | Dana leaves. The door swings shut on the sign light | Bell on the door |
Six shots tell a complete beat: setup, tension, decision and exit. Because each one has a size and a move written next to it, the sample also becomes the start of your shot list.
How to make a storyboard, step by step
- Start from the script and a rough shot plan. Break the scene into beats, the moments where something changes. Each beat usually needs at least one shot.
- Pick the scenes that need a storyboard. Do not storyboard everything. Focus on action, effects, complicated camera moves and any scene you struggle to explain in words.
- Set your frame ratio. Choose the aspect ratio you will shoot in and print or draw the frame boxes to match.
- Thumbnail first. Make quick, small sketches to find the framing. These can be rough. Only redraw the ones you will share.
- Draw the key frames. Use simple shapes. Show where the subject sits, where the horizon falls and what is in the foreground.
- Add arrows for movement. Arrows inside the frame show how people or objects move. Arrows outside it show how the camera moves.
- Write the notes. Fill in shot size, angle, move, action and dialogue under every panel.
- Check the cut. Read the frames in order. If two shots in a row look almost the same, change the size or angle so they will cut together.
- Number the shots and match your shot list. Use the same numbers in both documents so the crew can move between them without confusion.
Storyboard tips if you cannot draw
You do not need to be an artist. Plenty of useful storyboards are stick figures and boxes.
- Use stick figures and basic shapes. A circle for a head, lines for the body and a rectangle for a door is enough to show framing.
- Photograph your location. Take photos from the camera positions you plan to use and put them in the frames. Add arrows and notes on top. This is often faster than drawing, and it shows the real light and space.
- Trace a photo. If a shot needs a more detailed layout, trace over a photo of the location to get the perspective right.
- Use free tools. Storyboarder is a free, open-source app made for this, and any slide or design app can hold a grid of frames. Check each tool's current features before you rely on it.
- Keep it fast. A storyboard that takes a week to draw will not get used. Aim for clear, not pretty.
Common storyboard mistakes
- Drawing frames that do not match your shooting ratio. A 4:3 box for a 16:9 film hides what the camera will actually capture.
- Skipping the notes. A drawing without size, angle and move leaves the crew guessing.
- Storyboarding everything. You will run out of time. Keep it to the scenes that need it.
- Making every shot the same size. If every frame is a medium shot, the scene will feel flat. Vary the sizes.
- Treating it as fixed. Locations, light and actors change what is possible. Use the storyboard as a plan, and be ready to adapt when you get to set.
- Forgetting to match the shot list. If the numbers do not line up, the two documents stop being useful together.
When you can skip a storyboard
A storyboard is optional. For a simple dialogue scene, a talking-head interview or a documentary, a clear shot list is usually enough. Spend your time on storyboards where they save you the most: complicated moves, effects, stunts and anything that is expensive or dangerous to get wrong.
Final thoughts
A storyboard is a cheap way to make mistakes. A few pencil sketches can show you a problem that would otherwise cost you a location, a day of the crew's time or a reshoot. Print the template, draw the scenes that worry you most, and use the notes to build your shot list. When you plan the rest of the shoot, our call sheet guide covers the daily schedule, and the film budgeting guide helps you count the cost of every setup you drew.
Frequently asked questions
What is a storyboard in film?
A storyboard is a sequence of drawings, one for each planned shot, that shows how a scene will look on screen. Each frame is usually paired with notes on action, dialogue, shot size and camera movement.
What is the difference between a storyboard and a shot list?
A storyboard draws what each shot looks like. A shot list describes each shot in words and columns so it can be scheduled and checked off on set. Many filmmakers use both, but the shot list is the one you cannot skip.
Do I need to be able to draw to make a storyboard?
No. Stick figures, simple shapes and arrows are enough, because the goal is to communicate framing and movement, not to make art. You can also take photos at your location and use them as the frames.
What aspect ratio should storyboard frames be?
Match the ratio you will shoot in. For most video and online work that is 16:9. Cinema widescreen is about 2.39:1, and vertical video is 9:16. Draw your frame boxes in that shape so the composition is accurate.
How many panels should a storyboard page have?
Six frames per page is a common layout, because it keeps the frames large enough to read while the notes still fit underneath. Use four per page for key scenes that need more detail.