Color correction fixes your footage so it looks accurate and consistent: the right exposure, a neutral white balance, natural skin tones and shots that match. Color grading comes after and is creative: it gives the film a look, such as warm and nostalgic or cold and tense. Correct first, then grade.
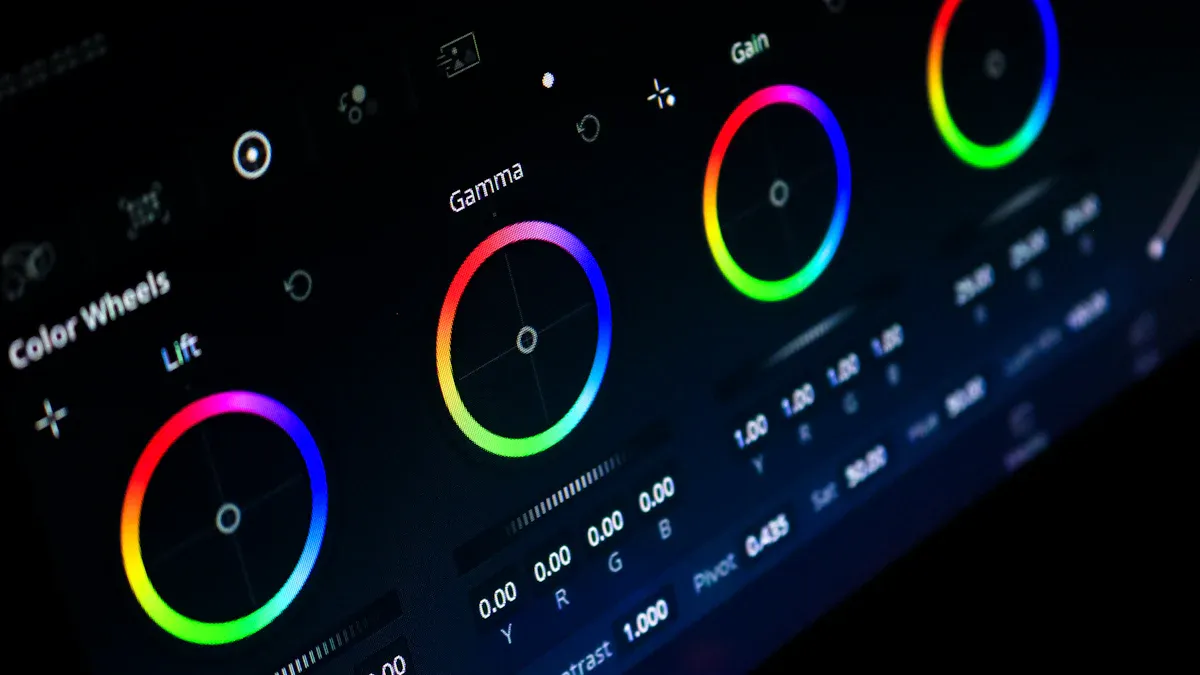
Color grading vs. color correction at a glance
| Color correction | Color grading | |
|---|---|---|
| Goal | Accurate, natural, consistent footage | A deliberate look and mood |
| Question it answers | "Is this image technically right?" | "How should this scene feel?" |
| Happens | First | After correction |
| Typical controls | Exposure, white balance, contrast, black and white points | Color wheels, curves, selective hue and saturation changes, LUTs, grain |
| Scope | Fix each shot, then match shots in a scene | Apply a consistent look across the whole film |
| Right or wrong? | There is usually a correct answer | It is a creative choice |
What is color correction?
Color correction is the technical cleanup of an image. You are not choosing a style yet. You are removing problems: a shot that was a little underexposed, a color cast from mixed lighting, or two clips of the same scene that do not match.
A typical correction pass on one clip goes like this:
- Set exposure and contrast. Use the waveform scope to place blacks near the bottom and highlights near the top without clipping.
- Fix white balance. Use a neutral object in frame or the RGB parade scope to remove color casts.
- Check skin tones. Most colorists use the vectorscope's skin tone line as a guide. Faces should land near it.
- Match the next shot. Compare it side by side with the previous one and adjust until they feel like the same moment.
Learn to read the scopes (waveform, parade, vectorscope). Your eyes adapt and your monitor may be wrong. Scopes are not.
What is color grading?
Color grading is where you decide what the film feels like. You change the palette, shape the contrast, and push colors toward a mood. The usual tools are:
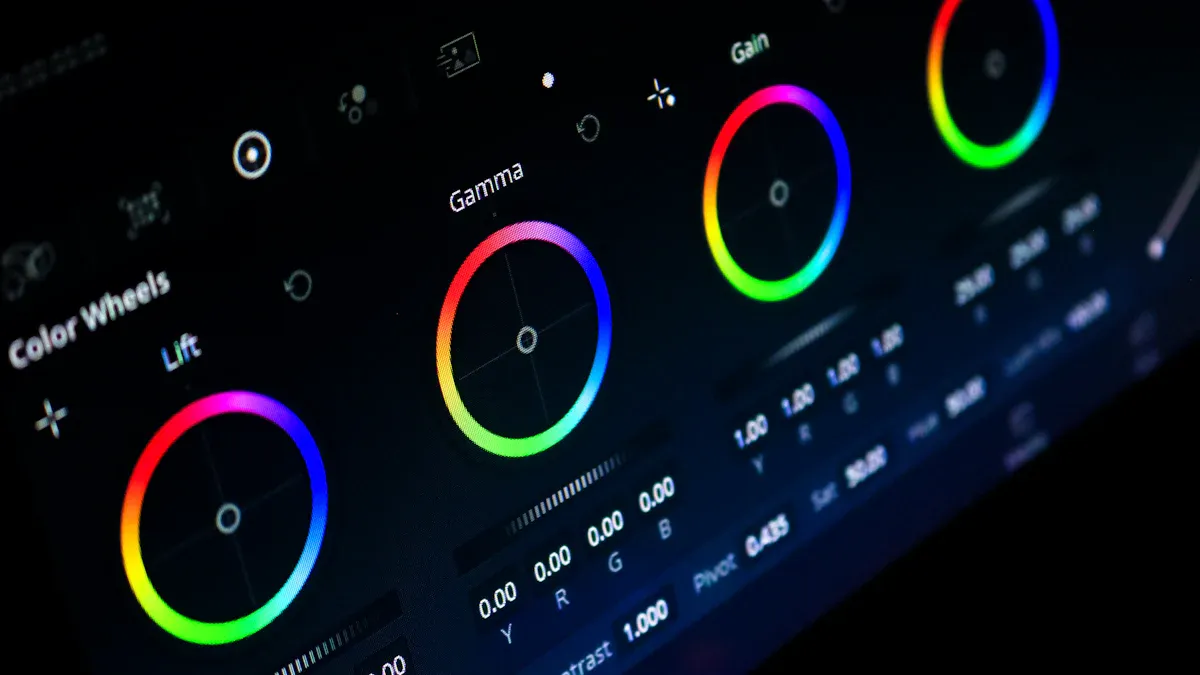
- Color wheels and curves to tint shadows, midtones and highlights separately.
- Selective adjustments to change one color, such as dulling a distracting red or deepening the sky.
- Vignettes and power windows to guide the eye.
- Grain, glow and halation to add texture and soften the digital look.
Grading supports the story. In The Matrix, the real world and the digital world carry distinct color palettes, with a green tint in the simulation. In O Brother, Where Art Thou? (2000), the Coen brothers and cinematographer Roger Deakins pushed the Mississippi landscape toward a dusty, golden, almost sepia look. It is often cited as the first feature graded entirely through a digital intermediate.
A caution: the popular "teal and orange" look is easy to overdo. It works because skin sits in the orange part of the wheel and the background goes opposite, but when everything uses it, nothing stands out.
The right workflow: correct first, then grade
- Convert your footage. If you shot in a log profile, it will look flat and gray. Use your software's color management or a technical conversion LUT to bring it to a normal viewing space (usually Rec. 709 for web and TV).
- Primary correction. Fix exposure, contrast and white balance on each shot.
- Match shots within each scene. Match brightness, color temperature and skin tone.
- Secondary corrections. Isolate and fix specific things: a face that is too dark, a sky that is blown out, a distracting green sign.
- Creative grade. Apply the film's look, ideally in a separate layer or node so you can adjust or remove it without touching your corrections.
- Check the result. Look at scopes, check on another screen, and watch the full film once for consistency.
Doing step 5 before step 2 is the most common beginner error. A grade built on uncorrected footage breaks the moment shot-to-shot differences show up.
Example: one interview shot, two passes
Say you filmed an interview by a window and the footage looks slightly blue and dark.
Correction pass. Raise exposure until the face sits in a natural range on the waveform. Warm the white balance until a white wall reads neutral on the parade scope. Nudge the skin tone toward the vectorscope's skin tone line. Now the shot looks like what you saw in the room.
Grading pass. The story is about a memory, so you want it to feel warm and soft. Lift the shadows slightly, add warmth to the highlights, pull a little saturation from the background, and add a gentle vignette. The face still looks natural, but the shot now has a feeling.
Both passes are separate adjustments, so if you change your mind about the look, your correction stays intact.
LUTs: a starting point, not a grade
A LUT (look-up table) is a preset that remaps colors. There are two kinds, and mixing them up causes most LUT disasters:
- Technical LUTs convert footage between color spaces, such as log to Rec. 709. They are required for log footage.
- Creative LUTs apply a look, such as a film emulation or a stylized palette.
If you use a creative LUT, correct your footage under it and lower its opacity until it looks right. A LUT designed for one camera's footage will not fit another's without adjustment.
Tools for color work
- DaVinci Resolve. The free version includes the full Color page with scopes, node-based grading and secondary tools. Studio costs $295 once and adds extras such as noise reduction and Magic Mask. It is the best place to learn both steps. See our free video editing software comparison for its system requirements and limits.
- Adobe Premiere Pro. Lumetri Color remains the familiar tool. Adobe is also testing a dedicated Color mode that was in beta as of mid-2026, with general availability promised later in the year. Adobe does not recommend it for client work while it is in beta.
- Final Cut Pro. Includes a color board, color wheels and curves, which are enough for most correction and basic grading.
Common mistakes
- Grading before correcting. See above.
- Crushing blacks or clipping highlights. Once detail is gone, you cannot get it back.
- Ignoring skin tones. Viewers forgive an odd sky. They do not forgive a face that looks green.
- Inconsistent shots. If one shot in a scene is warmer than its neighbors, the audience will feel the edit.
- Grading on a bad display. A bright, uncalibrated monitor misleads you. Use scopes, and check on more than one screen.
- Relying on presets. A pack of LUTs saves time but does not teach you why a look works.
Get it right in camera
The easiest correction is the one you never need. Expose carefully, set a proper white balance, and shoot a gray card or color chart at the start of each setup if you can. Strong lighting also gives you a cleaner starting point, which is covered in our guide to what cinematography is. The camera you choose decides how much room you have to push the image, so see how to choose the right camera.
Where color fits in the edit
Color is the last big step after picture lock. Finish the cut first, then color. If you are still learning the workflow that leads up to it, start with our film editing for beginners guide.
Final thoughts
Correction and grading are separate jobs. One makes the image honest, and the other makes it expressive. Learn correction first, because everything you do in a grade depends on it, and practice both with the free tools above.
Frequently asked questions
What is the difference between color grading and color correction?
Color correction fixes technical problems so footage looks natural and matches from shot to shot. Color grading is the creative stage that gives the film a stylized look and mood. Correction comes first, grading second.
Should I color correct or color grade first?
Correct first. Set exposure, white balance and contrast, and match your shots, then apply the creative grade on top. Doing it the other way around makes your look fall apart when shots differ.
Do I need a LUT to color grade?
No. A LUT is a preset that remaps colors. Log footage needs a conversion LUT or color management to look normal, but a creative grade can be built by hand with curves, wheels and nodes.
What is the best free software for color grading?
DaVinci Resolve. Its free version includes the full Color page with scopes, nodes and secondary tools. Noise reduction and some AI tools are Studio-only, but the core grading tools are free.