Disclosure: this post contains affiliate links. As an Amazon Associate I earn from qualifying purchases, at no extra cost to you.
Light is what the camera actually records. A great camera in bad light looks flat and cheap, and a modest camera in good light can look like cinema.
The best place to start is three-point lighting. It is the most common setup in film, TV and interviews, and it teaches you how to shape a face with light. This guide covers what each light does, where to place it, how to set the ratio, and how to build the look on a small budget.
What is three-point lighting?
Three-point lighting uses three lights, each with its own job:
- Key light: the main light and the brightest. It sets your exposure and shapes the subject.
- Fill light: a softer light that fills in the shadows the key leaves behind.
- Backlight: a light behind the subject that traces an edge of light around the head and shoulders.
Together they give you a subject with shape, detail in the shadows and clear separation from the background. That is why it became the default for so many scenes.
The three lights, one at a time
The key light
The key is your main source. If you only had one light, this would be it.
- Position: about 45 degrees to one side of the camera, and about 45 degrees above the actor's eye line. Light from above and to the side creates a small triangle of light on the cheek farthest from the key, a classic look often called Rembrandt lighting.
- Quality: large and soft flatters most faces. A small, bare source is harder and shows every line.
- Side matters: the side you put the key on decides which side of the face holds the shadow. Pick the side that suits the scene and the actor.
The fill light
The fill lifts the shadows so they are not pitch black.
- Position: on the opposite side of the camera from the key, near camera height.
- Power: lower than the key. This is where you control the contrast of the scene.
- Alternatives: a white foam board or a reflector bounces key light back into the shadow with no extra power. A reflector is the simplest fill there is.
The backlight
The backlight (also called a hair light or rim light) sits behind the subject, higher than their head, and points back toward the camera side.
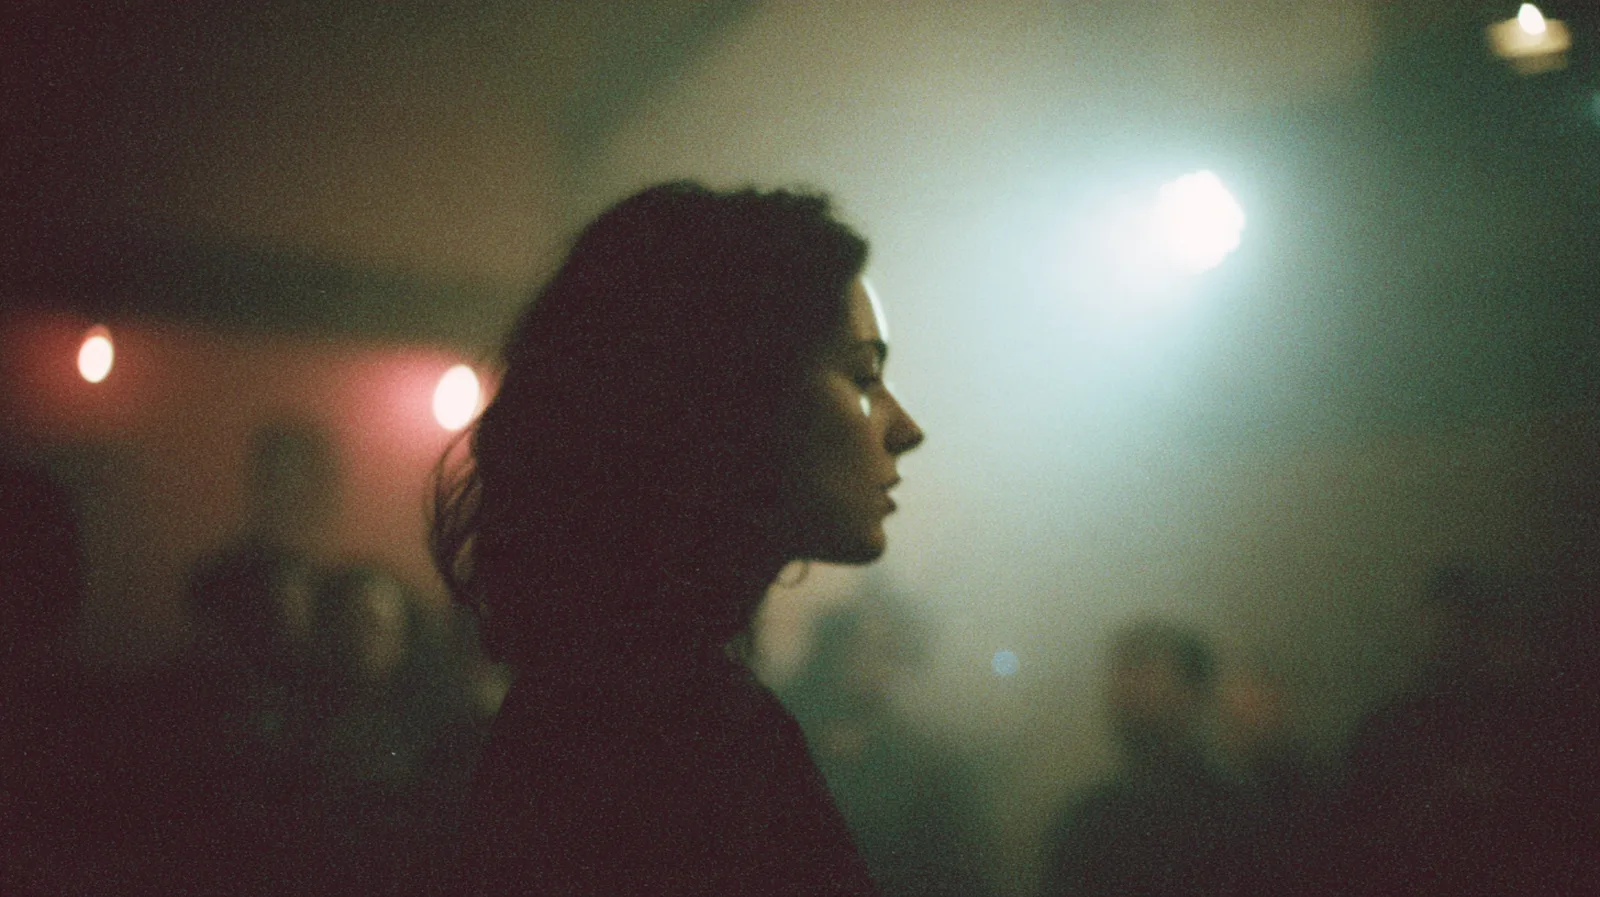
- What it does: it adds a thin edge of light on hair and shoulders, which pulls the subject away from the background and gives the frame depth.
- Watch for: lens flare and light spilling into the lens. Use a flag or keep the light out of the frame and just outside the camera's view.
- Go easy: a backlight that is too strong looks like a glow around the head. Start low and raise it until you see a clean edge.
The three-point lighting diagram
Here is the setup from above. The camera is at the bottom, the subject is in the middle, and the three lights surround them.
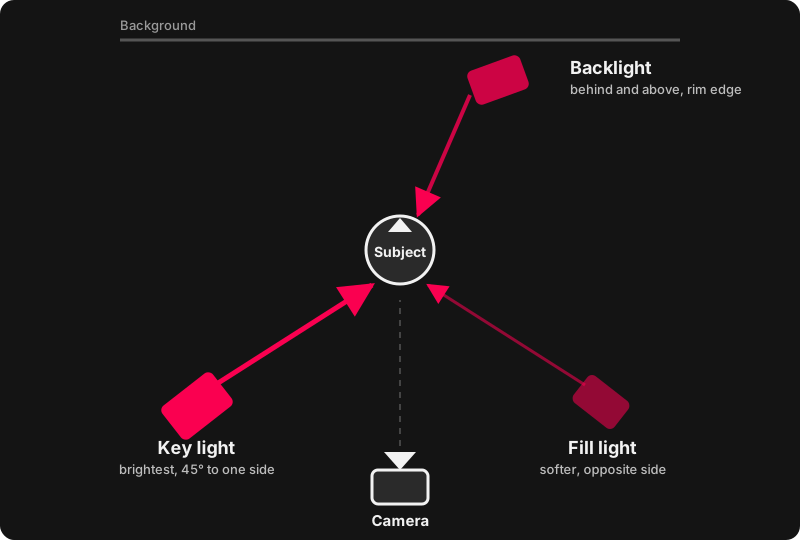
A quick way to remember it: key on one side, fill on the other, backlight behind. The key is bright, the fill is soft, and the backlight is high.
Step by step: set up three-point lighting
You can do this in about ten minutes once you have done it a few times.
- Frame your shot first. Place the camera and the subject. Lighting follows the frame, not the other way around.
- Turn off all other lights in the room, or at least know what they are doing to your image.
- Add the key. Set it about 45 degrees off the camera axis and above eye level. Look at the face on your monitor and move the light until the shadow shape looks right.
- Add the fill. Place it on the other side and bring it up slowly until the shadows hold detail but still feel like shadows.
- Add the backlight. Place it behind and above the subject. Raise it until you see a clean rim of light on the hair and shoulders.
- Check the background. Use a separate light, a lamp in frame or a bit of spill so the background is not a black hole behind the subject.
- Check exposure and white balance. Make sure every light has the same color temperature, or your skin tones will shift from one side to the other.
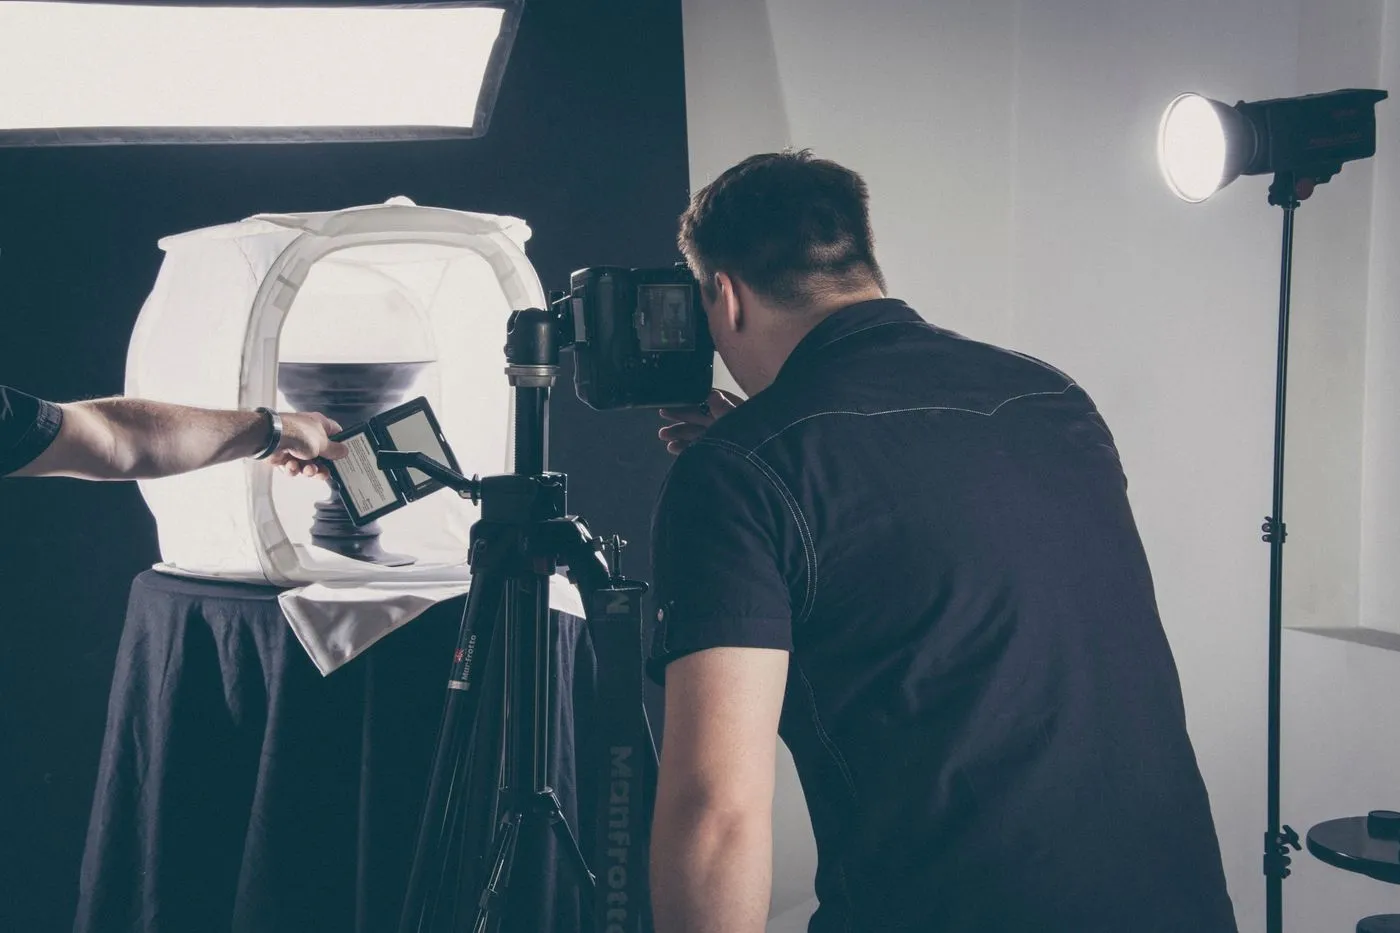
Light ratios: how to control the mood
The ratio compares how bright the key side of the face is with the fill side. It is measured in stops, and it is the easiest way to change the feel of a scene.
| Ratio | Look | Good for |
|---|---|---|
| 2:1 | Soft, open, little shadow | Interviews, comedy, beauty, bright daytime scenes |
| 4:1 | Defined shape, gentle drama | Dialogue scenes, most narrative work |
| 8:1 | Deep shadows, strong contrast | Thrillers, tense moments, night scenes |
| 16:1 or more | Mostly shadow, very hard | Noir, horror, silhouettes |
Increase the ratio by turning the fill down or moving it farther away. Decrease it by bringing the fill closer or adding a reflector. You do not need a light meter to start. Look at the monitor, and adjust until the face tells the right story.
Hard light vs soft light
How a light is shaped matters as much as where it is.
- Hard light comes from a small source, such as a bare bulb or the sun at noon. It makes crisp shadows and shows texture. It feels harsh, dramatic and sometimes unflattering.
- Soft light comes from a large source, such as a window, a softbox or a bounced light. It wraps around the face with gentle shadows and flatters most skin.
To soften a light, make the source larger relative to the subject, and move it closer. Put diffusion in front of it, such as a softbox, a sheet of diffusion material or a white bounce card. For help choosing where soft light helps and where a harder source tells the story, see how lighting fits into the elements of cinematography.
Real-world examples
The interview
The classic use of three-point lighting is the talking-head interview. Put the key at 45 degrees, the fill at a soft 2:1, and a backlight to lift the subject off the wall. Position the subject a few feet in front of the background and the setup instantly looks professional.
The dialogue scene
In a narrative scene, use the same three roles but let the story decide the ratio. A calm kitchen conversation might sit at 2:1. A tense confrontation might push to 8:1 with the fill almost off. Because you light for the scene and not for the technique, the setup changes shot to shot. Plan those changes with your shot list so you know which setups need a re-light.
Natural light version
You can build the same look with no lights at all:
- Use a window as the key, and place the actor at a 45 degree angle to it.
- Use a white foam board or reflector on the opposite side as the fill.
- Place a lamp or a second window behind the actor as a rough backlight.
If the sun moves, so does your light, so shoot quickly or use a flag to keep the look steady. Working fast with what is already in the room is also a core skill in guerrilla filmmaking.
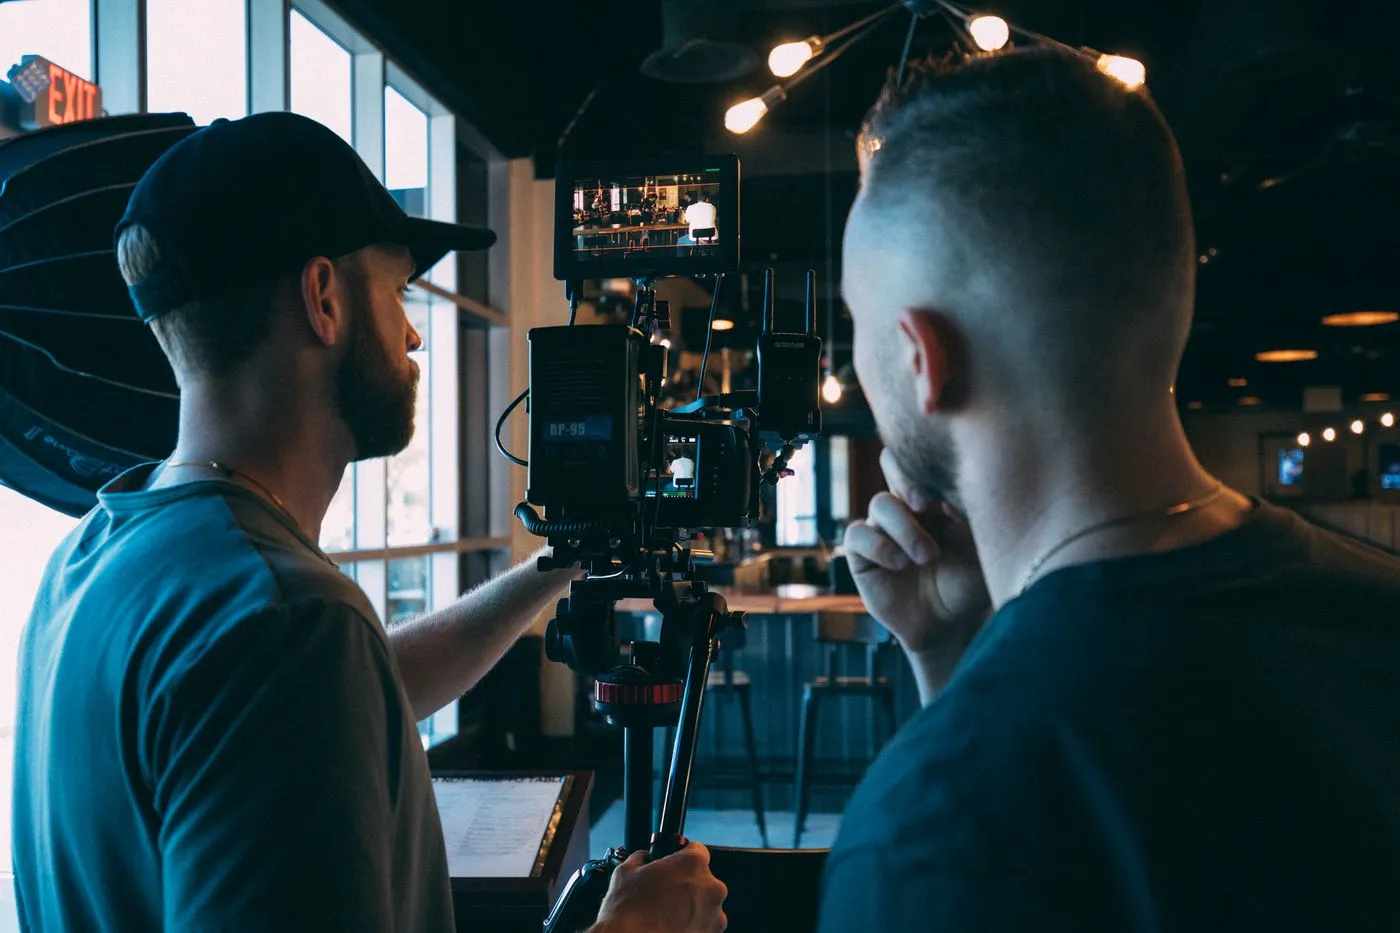
Why the setup works with your lens and camera
Lighting and the camera work together. A faster lens lets you shoot with less light, but it also gives you a shallower focus, which changes how much the background matters. Our guide to depth of field explains how aperture and lighting trade off. And your camera's low-light ability affects how much power your lights need, so keep that in mind when you choose a camera.
Mix color temperatures on purpose
Different lights have different color temperatures, measured in kelvin. Daylight is around 5600K, and tungsten bulbs are around 3200K. If you mix them by accident, one side of the face looks blue and the other looks orange.
- Match your lights when you want a natural look. Most LED panels let you dial in a temperature.
- Gel your lights if you must mix sources. An orange gel over a daylight source brings it to tungsten.
- Mix on purpose for a stylized look, such as warm lamps against cool moonlight through a window.
Color choices made on set are much easier to refine later, and our guide to color grading vs color correction shows how to build on them in the edit.
A budget three-point lighting kit
You do not need a truck of gear. A beginner kit can be small.
- Two or three LED panels, preferably bi-color so you can match any source. A bi-color LED video light kit gives you stands and power in one box.
- A softbox or diffusion to soften the key. A softbox for LED video lights or a diffusion fabric works well.
- A reflector for free fill. A 5-in-1 reflector gives you white, silver, gold, black and a diffuser.
- Light stands and clamps to put lights exactly where you want them.
- Black fabric or flags to block spill and keep the backlight out of the lens.
On a tight budget, start with one light, one reflector and a window. That alone teaches you everything in this guide. Lighting is one line item in your film budget, so spend on it deliberately.
Common three-point lighting mistakes
- Lighting flat from the front. A light right next to the camera removes all shape. Move the key off to the side.
- A fill as bright as the key. The face loses contrast and the image looks flat.
- No separation from the background. Without a backlight or a lit background, the subject blends into the wall.
- A harsh backlight. Too much power looks like a halo. Lower it.
- Mixed color temperatures. Match your lights or gel them.
- Forgetting the eyes. Make sure the key puts a small highlight, or catchlight, in the eyes. Without it, the face can look lifeless.
- Treating the setup as a rule. Break it when the story asks for it.
When to break the rules
Three-point lighting is a foundation, not a cage. Plenty of memorable scenes use less:
- One light only (low-key): a single hard source from the side creates deep shadow and mystery.
- High-key: lots of soft light everywhere gives a bright, cheerful look with very low contrast.
- Practical lighting: lamps, windows, screens and candles visible in the frame can do the work of all three lights.
- Silhouette: light the background and leave the subject dark.
Learn the standard setup first, so you understand what you are changing. Then decide what the scene needs, and light for that. Moving lights between shots? Remember that camera movement changes what lights can be seen, which is covered in our camera movements guide.
Quick checklist before you roll
- Is the shot framed before you light?
- Is the key at about 45 degrees to the side and above eye level?
- Is the fill softer than the key, on the opposite side?
- Does the backlight give a clean edge without flaring the lens?
- Is the background separated from the subject?
- Do all lights match in color temperature?
- Do the eyes have a catchlight?
- Have you checked the monitor, not just your eyes?
Final thoughts
Three-point lighting is simple on paper and endlessly deep in practice. Start with a key, a fill and a backlight. Learn what each one does to a face. Then move them, dim them and break the setup whenever the story calls for it.
Good light also helps your sound. Quiet, cool LED panels beat buzzing, hot lamps, and a calm set makes for better takes. Pair this guide with film sound for beginners and you have covered the two things that make a low-budget film look and sound professional.
Frequently asked questions
What is three-point lighting in film?
Three-point lighting is a standard setup that uses a key light, a fill light and a backlight to light a subject. The key shapes the face, the fill softens the shadows, and the backlight outlines the subject so it stands apart from the background.
Where do you put the lights in three-point lighting?
Put the key about 45 degrees to one side of the camera and a little above eye level. Put the fill on the other side, near camera height and at lower power. Put the backlight behind the subject, higher than the head, pointed back toward the camera side.
What is a good key to fill ratio?
A 2:1 ratio gives soft, even light that suits interviews and bright scenes. A 4:1 ratio adds shape and drama. Ratios of 8:1 or higher leave deep shadows and suit tense or moody scenes.
Can I do three-point lighting with one light?
Yes. Use one light as the key, a white card or reflector as the fill, and a window or lamp behind the subject as a rough backlight. It is not exact, but it follows the same idea.
Do I always need all three lights?
No. Many great scenes use only a key light, or a key and a fill. Three-point lighting is a teaching tool and a reliable default, not a rule. Drop any light that does not serve the scene.
What lights should a beginner buy first?
Start with one or two bi-color LED panels with stands, a softbox or diffusion, and a 5-in-1 reflector. That covers key, fill and a simple backlight for interviews, dialogue scenes and most short films.