Disclosure: this post contains affiliate links. As an Amazon Associate I earn from qualifying purchases, at no extra cost to you.
Audiences forgive rough images. They do not forgive bad sound. A soft shot or a shaky pan can feel like a style choice, but muddy dialogue just makes people stop listening.
The good news is that clean film sound comes from a few habits, not an expensive kit. Get the microphone close, set safe levels, listen on headphones, and record room tone. This guide walks through each one, from your first no-budget short to a bigger shoot.
Why sound matters more than you think
Sound does three jobs at once. It carries the story (dialogue), it sets the mood (music and atmosphere), and it tells the viewer where they are (footsteps, wind, traffic, a hum in the walls).
Dialogue is the hard part. You can replace music, add effects and build atmosphere in the edit. Fixing a line that was recorded in an echoey room, over a loud air conditioner, is much harder. Actors can re-record lines in a studio (this is called ADR, or automated dialogue replacement), but it is slow, expensive and rarely matches the energy of the original take.
So the real goal of location sound is simple: capture clean dialogue on set.
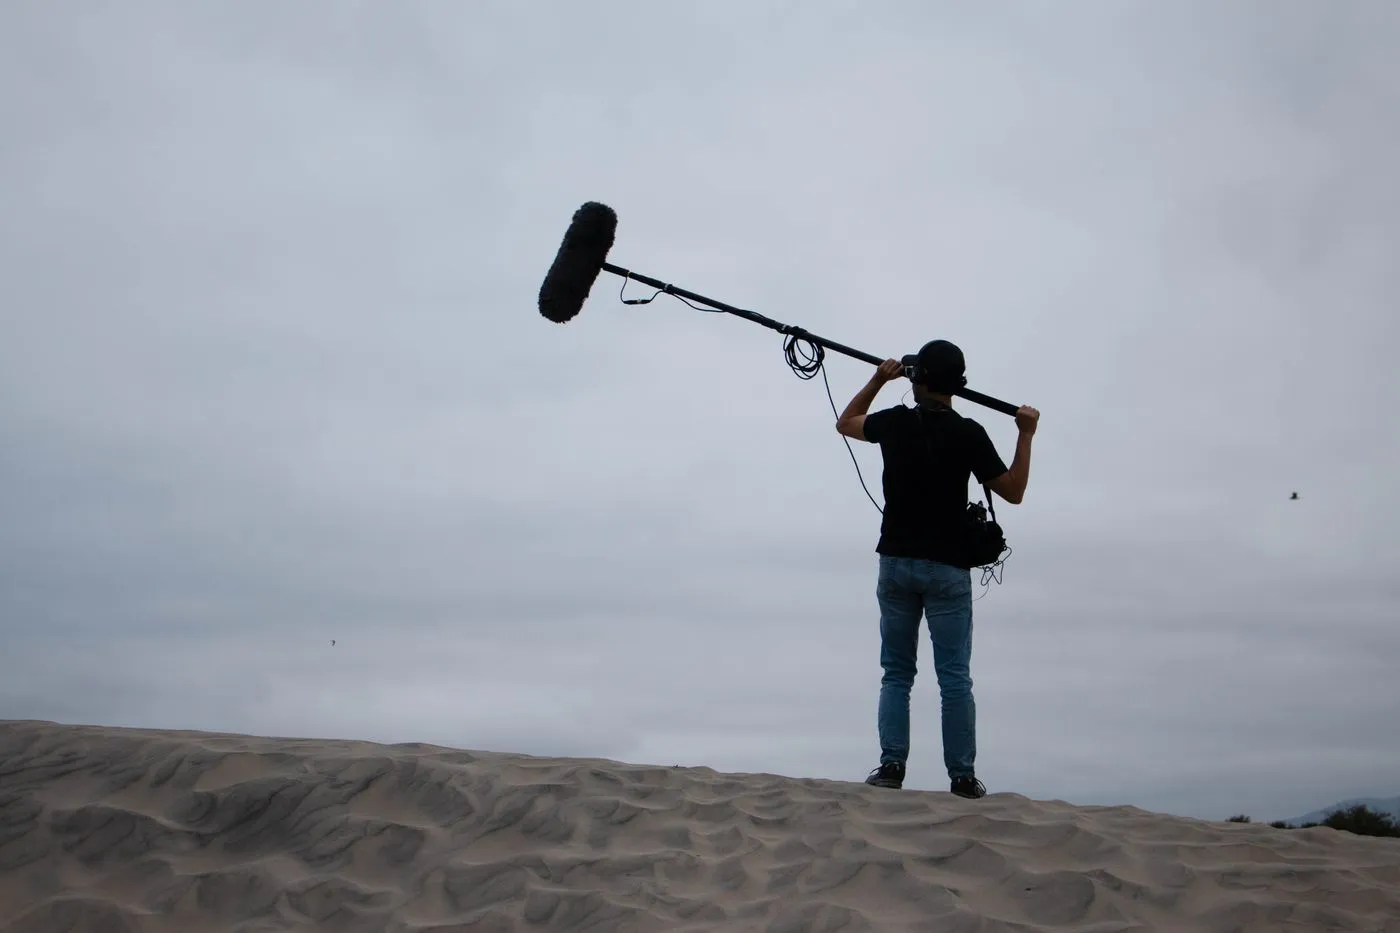
The sound chain: four links, one weak spot
Think of recording as a chain. Your sound is only as good as its weakest link.
- The room and the source. The actor, the space, and every noise around them.
- The microphone. What picks up the sound, and how close it is.
- The recorder. Where the signal is converted and stored, including your levels.
- Your ears. Headphones are how you catch problems while you can still fix them.
Most beginners spend their money on link two and ignore links one and four. Fix the room and the distance first.
Rule one: get the microphone close
Distance is the biggest factor in how a voice sounds. Every time you halve the distance between the mic and the mouth, the voice gets about 6 dB louder compared with the room around it. Move a mic from six feet away to three feet, and you have made the dialogue clearly stronger without touching a single setting.
That is why the built-in microphone on a camera or phone sounds thin and roomy. It sits too far from the actors and hears everything.
Choosing your microphone
For dialogue you will mostly use one of three setups.
| Mic type | Best for | Watch out for |
|---|---|---|
| Shotgun on a boom pole | Natural-sounding dialogue, most scenes | Needs an operator, must stay out of frame and shadows |
| Lavalier (lav) | Wide shots, moving actors, solo shooters, interviews | Clothing rustle, placement takes care, can sound close and flat |
| On-camera mic | Scratch audio, run-and-gun, backup | Too far from the speaker for good dialogue |
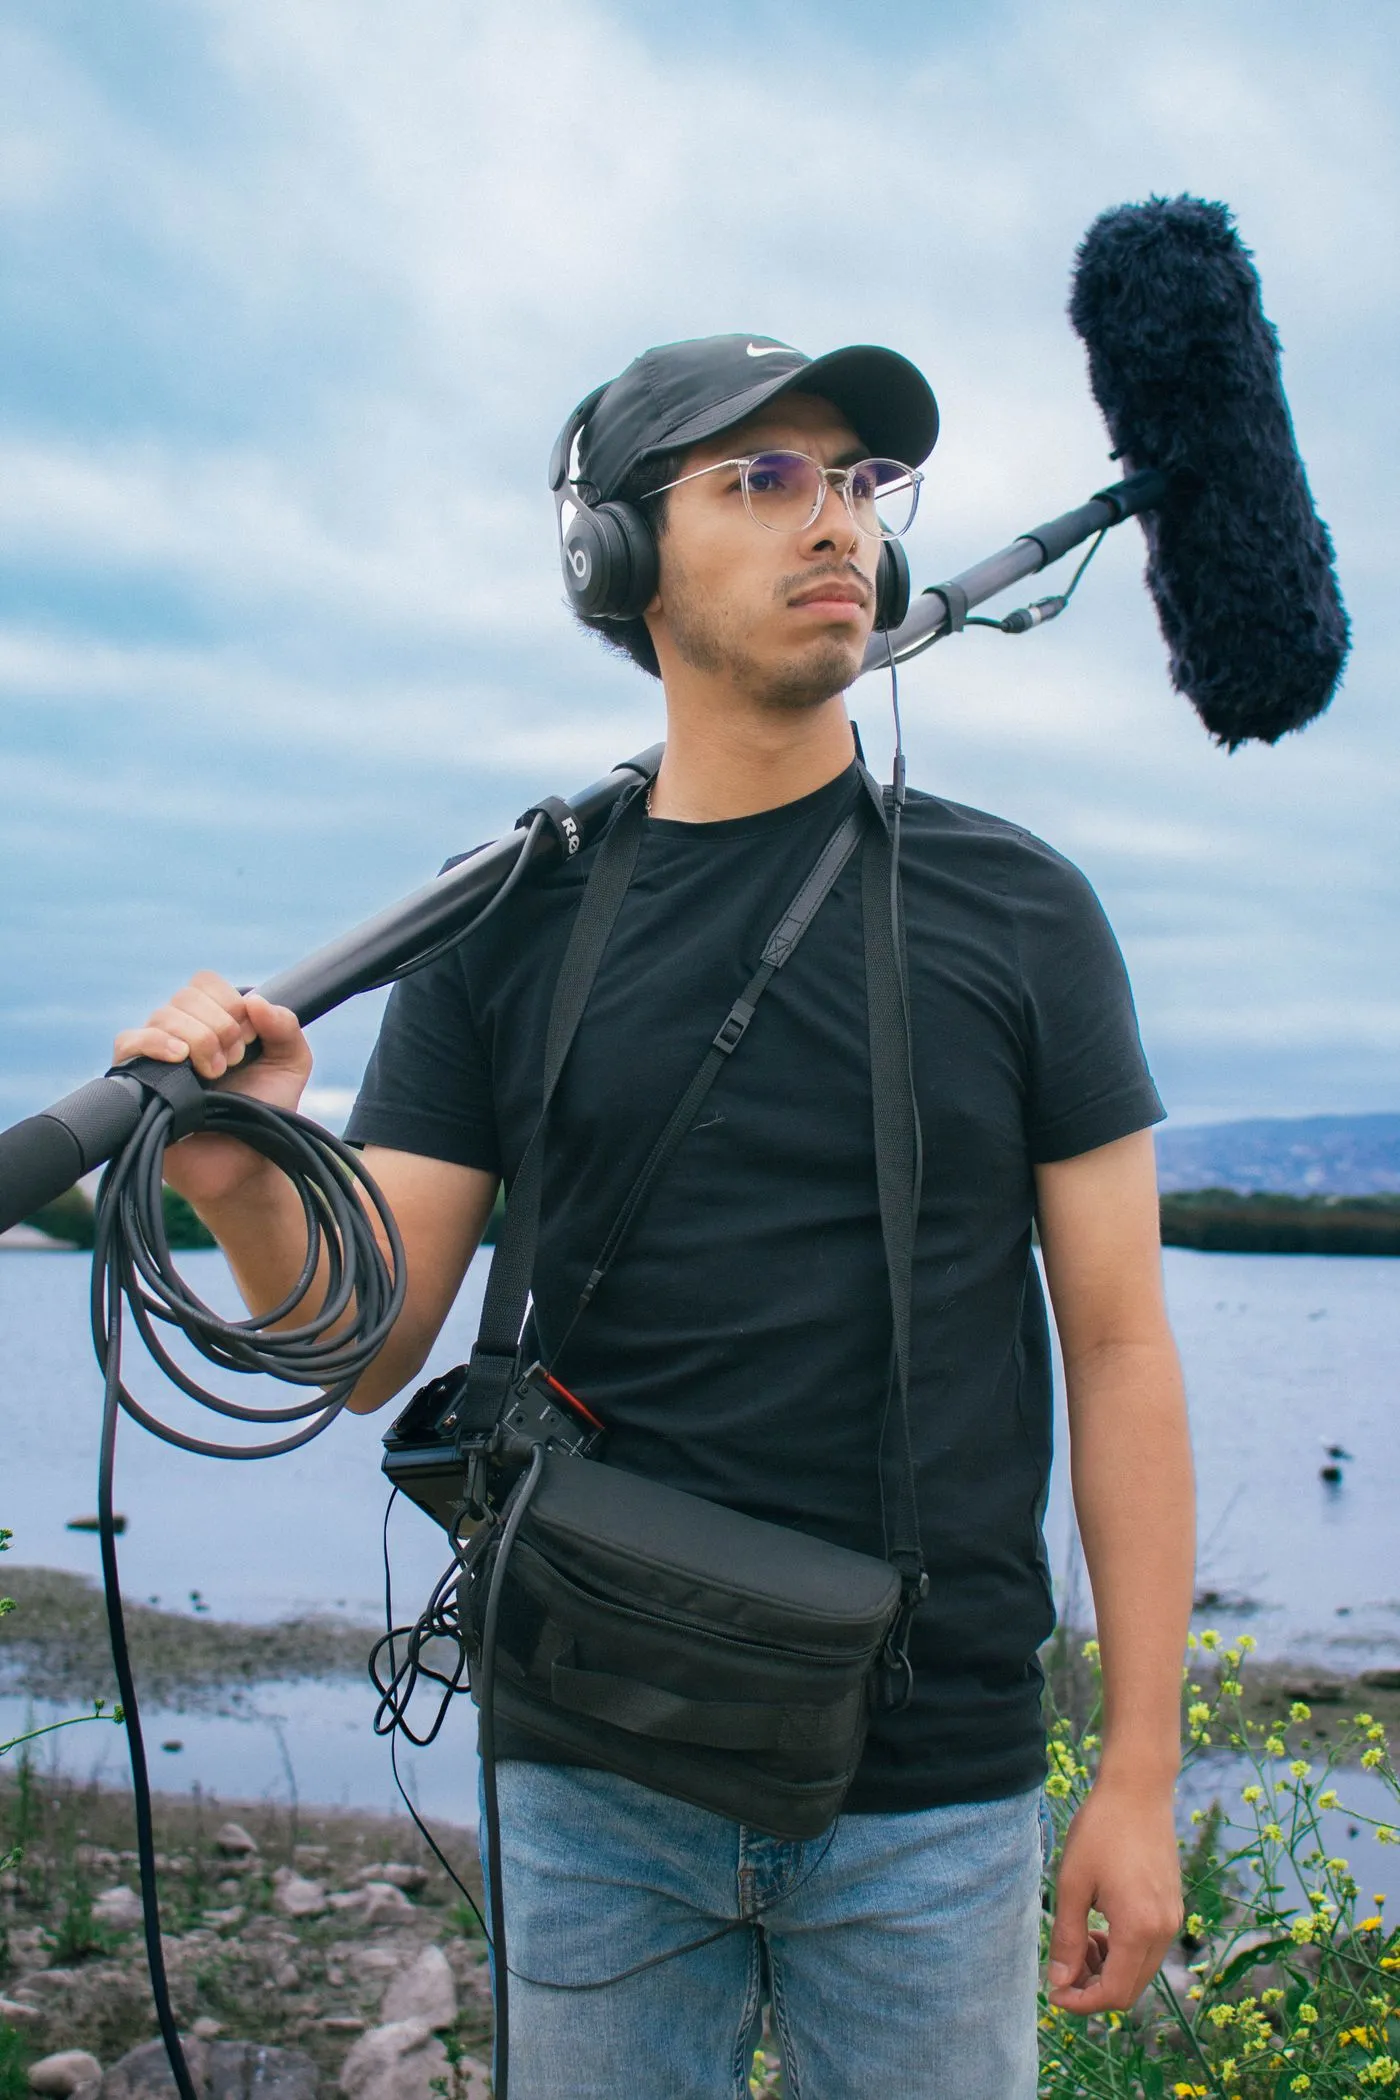
Shotgun mic on a boom
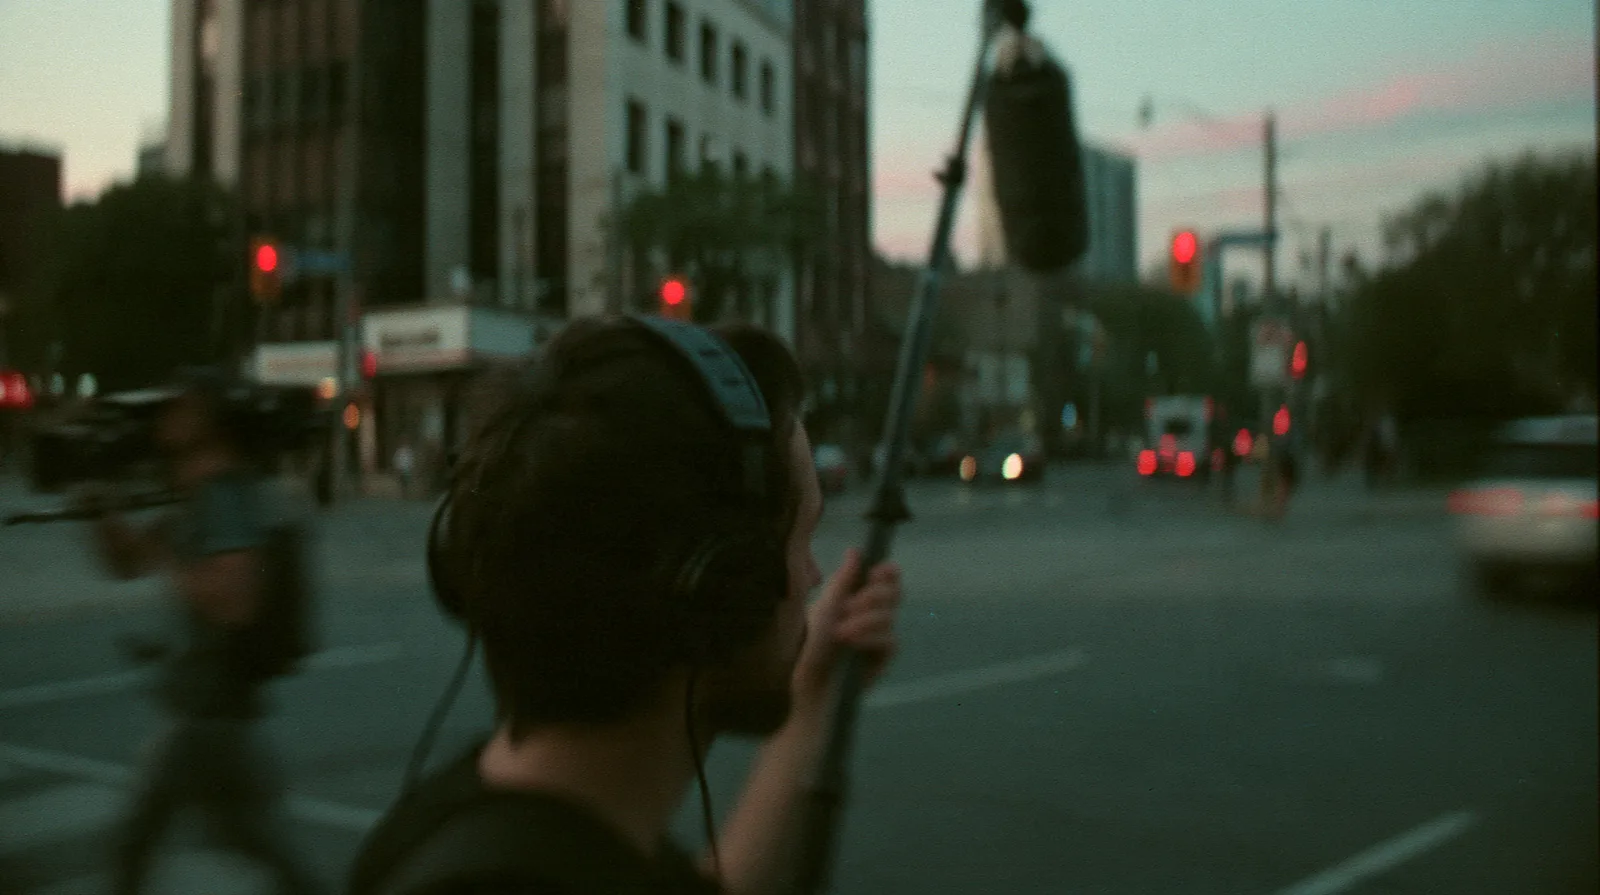
A shotgun mic is a long, narrow-pickup microphone. Mounted on a boom pole and held just above the actors, out of frame, it gives the most natural dialogue sound. This is the standard for film sets.
Good boom habits:
- Aim at the mouth, not the head. Point the mic at the speaker's chin and keep it as close as the frame allows.
- Hold from above if you can. Overhead placement picks up the voice and less floor noise.
- Check the frame and the shadows. Look at the monitor, then test the boom in the shot before rolling.
- Practice the pole. Arms get tired. Rest your elbows against your body or use a stand for static scenes.
- Use a shock mount and windscreen. The mount isolates handling noise, and a windscreen (a furry cover outdoors) cuts wind.
If you are shopping, look for a shotgun microphone along with a boom pole and a shock mount.
Lavalier microphones
A lavalier is a tiny clip-on mic that sits on the actor's chest. It stays close to the voice no matter how far the actor moves, which makes it a lifesaver for wide shots where the boom cannot get near.
Good lav habits:
- Place it on the chest, roughly six to eight inches below the chin, centered if you can.
- Hide the cable and secure it so it cannot swing against clothing.
- Watch for rustle. Cotton and synthetic fabrics make different noises, and jackets, scarves and jewelry can scrape the mic. Tape the mic and check by having the actor move and talk.
- Record a second track when possible. Many productions record the boom and the lav together, then choose the better one in the edit.
A wireless lav system gives you freedom, but it costs more and can pick up radio interference. A wired lavalier microphone works well for interviews and locked-off scenes.
Your camera or phone mic
Use it as a backup and as scratch audio, a rough track that helps you sync the clean recording later. Do not rely on it for dialogue unless you must.
Set your levels
Digital audio has a hard ceiling. When the signal hits 0 dBFS, it clips, and clipping cannot be fixed. Too low, and you end up boosting the track in post, which also boosts the noise.
Here is a safe starting point:
- Record in 24-bit at 48 kHz, which is the standard for video.
- Set the gain so normal dialogue peaks between about -12 and -6 dBFS.
- Leave room for the actor who suddenly shouts. Ask for a quick test of the loudest line before you roll.
- Avoid using auto gain. It raises the background noise every time the actor pauses.
If your recorder has a limiter or a "safety track" that records a second file a few decibels lower, turn it on. It is cheap insurance against a surprise.
Monitor with headphones, every take
The single best habit in location sound is listening. Wear closed-back headphones and listen to the whole take, not only the first few seconds.
You are listening for:
- Clothing rustle and mic bumps
- Hums, buzzes and electrical noise
- Planes, traffic, a neighbor's lawn mower
- Wind, popping consonants and clipped words
- A line that is simply too quiet
If you hear a problem, say so and shoot another take. It takes a minute on set. It can take hours, or be impossible, to fix in the edit.
Control the room
Before you worry about better gear, make the location quieter.
- Turn off appliances. Refrigerators, air conditioning, fans and fluorescent lights all hum. A common trick: put something you need at the end of the day, like your car keys, inside the fridge so you do not forget to turn it back on.
- Silence phones or switch them to airplane mode, including the crew's.
- Listen first. Stand in the room for a full minute before you decide where to shoot. Your ears are better than your eyes at spotting trouble.
- Reduce echo. Bare walls and floors bounce sound. Add blankets, rugs, curtains or furniture, or move the scene to a smaller, softer room.
- Plan around outside noise. Traffic, planes and construction have patterns. Your call sheet should note noisy times, and a shot list can flag the scenes where clean dialogue matters most.
Shooting on the street with no permits and no control? Our guide to guerrilla filmmaking covers how to adapt, and why you may want to plan on replacing some lines.
Record room tone at every location
Room tone is the sound of a space when nobody is speaking. Every room has its own: a faint hum, a bit of air, the character of the walls.
It matters because of editing. When you cut dialogue, tiny silences open up between clips. If you leave them empty, the background sound drops out and the cut becomes obvious. Laying room tone underneath keeps the space feeling continuous.
How to record it:
- At the end of the scene, or when you wrap the location, call for quiet.
- Everyone stays still, in the places they were during the scene, and equipment stays on.
- Record 30 to 60 seconds with the same mic and the same settings you used for dialogue.
- Label the file or say the location out loud on the recording so your editor can find it.
- Repeat for every new location or change in setup.
It takes one minute, and it is one of the cheapest fixes you will ever make. Editors rely on it, and it is a big part of how good pacing in the edit stays smooth, especially with J-cuts and L-cuts where audio overlaps the picture.
Syncing sound to picture
If you record sound on a separate recorder, you need to line it up with the camera in the edit. There are two common ways:
- A slate or hand clap. Clap once in front of the camera while both are recording. The sharp spike on the waveform and the frame where hands meet give you a sync point.
- Timecode. Some cameras and recorders can share timecode so they stay in sync automatically.
Also keep the camera recording scratch audio. Editing programs can use it to auto-sync your clean recordings, which saves a lot of time. Many free editors can do this, including DaVinci Resolve, whose free version includes the Fairlight audio page. See our free editing software guide for more.
A simple starter kit
You do not need to buy everything at once. A practical beginner kit looks like this:
- One shotgun mic with a shock mount and windscreen
- A boom pole
- A recorder with XLR inputs (or a mic that plugs into your camera)
- XLR or mic cables
- Closed-back headphones
- A lavalier mic for interviews and wide shots
- A few moving blankets for dead rooms
If the budget is tight, start with headphones, one good lav and a quiet room. Those three things beat an expensive mic in a noisy kitchen. Planning the whole kit? See how sound fits into your overall film budget and your camera choice, because some cameras have better audio inputs than others.
Recording film sound with a phone
Phones can record surprisingly good audio if you help them.
- Get close or use a lavalier. The built-in mic is the biggest limitation.
- Plug in a small mic through the right adapter, or record the voice on a separate device and sync it later.
- Turn on airplane mode so calls and notifications do not interrupt a take.
- Check your levels with an audio app that shows meters, and keep peaks out of the red.
- Shoot in a quiet, soft room with the phone's mic as close to the speaker as the frame allows.
Common film sound mistakes
- Trusting the camera mic. It hears the room more than the actor.
- Recording too hot. Clipped dialogue cannot be repaired.
- Skipping headphones. If you are not listening, you are guessing.
- Forgetting room tone. You discover the need in the edit, when it is too late.
- Ignoring wind. Even a light breeze rumbles a mic. Use a furry windscreen outside.
- Asking the boom to cover everything. If the shot is too wide, use a lav or plan a replacement line.
- Treating sound as the last thing on the list. Give the person on sound a voice in how scenes are blocked and shot.
Quick checklist before you roll
- Is the room quiet? Appliances off, phones silent.
- Is the mic as close as the frame allows?
- Are levels set, with dialogue peaking around -12 to -6 dBFS?
- Are you wearing headphones?
- Did you slate or clap for sync?
- After the scene, did you record room tone?
Final thoughts
You can learn film sound in a weekend, and it will improve every project you make afterward. Start with the basics: a quiet room, a close microphone, safe levels, headphones and room tone. Then add a boom, a lav and a proper recorder as the budget allows.
When you move into post, sound ties directly into the cut. Our film editing for beginners guide shows how dialogue, music and effects come together after the shoot.
Frequently asked questions
What is room tone in film?
Room tone is the quiet background sound of a location, recorded with the cast and crew standing still. Editors lay it under cuts and gaps in dialogue so the silence feels continuous instead of dropping out.
How long should I record room tone?
Thirty seconds to a minute is a safe length for each location. Record it again whenever the setup changes, such as a different room, a window opened or closed, or equipment turned on or off.
Is a boom mic or a lavalier better for film?
A shotgun mic on a boom usually sounds more natural and is the standard for dialogue. A lavalier is the better choice when the frame is too wide for the boom, the actors move a lot, or you work alone. Many shoots record both.
What audio levels should I record at?
For 24-bit digital recording, aim for dialogue peaks between roughly -12 and -6 dBFS. That leaves headroom for surprises and keeps the voice well above the noise floor.
Can I record good film sound with a phone?
Yes, if you get the microphone close. Plug in a small lavalier or use a separate recorder, silence notifications, and shoot in a quiet space. The phone's built-in mic picks up too much of the room for dialogue.
Do I need to record sound separately from the camera?
Not required, but it often gives cleaner results. A separate recorder lets you place the mic close and control levels, and you sync the audio to the picture in editing using a slate clap or timecode.